Speed up your workflow fast! Upgrade your iMac’s ram.
So you bought a brand new, fancy 5k iMac, you get it home and realize that it’s not as fast as you thought it would be. Especially for just dropping a cool $2k on what you were told was the best thing out there! Well, in short, it is the best choice out there. (I’m biased, sorry PC lovers.) In just 5 minutes and about $250, you can speed up your daily workflow. Trust me, you’ll thank me when all of your memory heavy programs open up at lightning speed! Read onto find out how easy it is to upgrade your iMac’s Ram
As busy Wedding Photographers, we need speed and LOTS of it when it comes to our daily workflow. We work with multiple memory hungry programs such as Photoshop, Lightroom, In Design, and Blog Stomp just to name a few. Whether you have a newer iMac system or one a few years old you can drastically improve your memory usage by upgrading your Mac’s ram. Now, I’m not going to get into the technical side because if you’re like me, you just want to get it done and get it done quickly. Follow these simple steps and you will be up and running in no time!
Step 1.
Turn off your computer and place your iMac face down on a flat surface with a blanket or towel folded in half. (Just make sure it’s wide enough to cover the entire screen.)
Step 2.
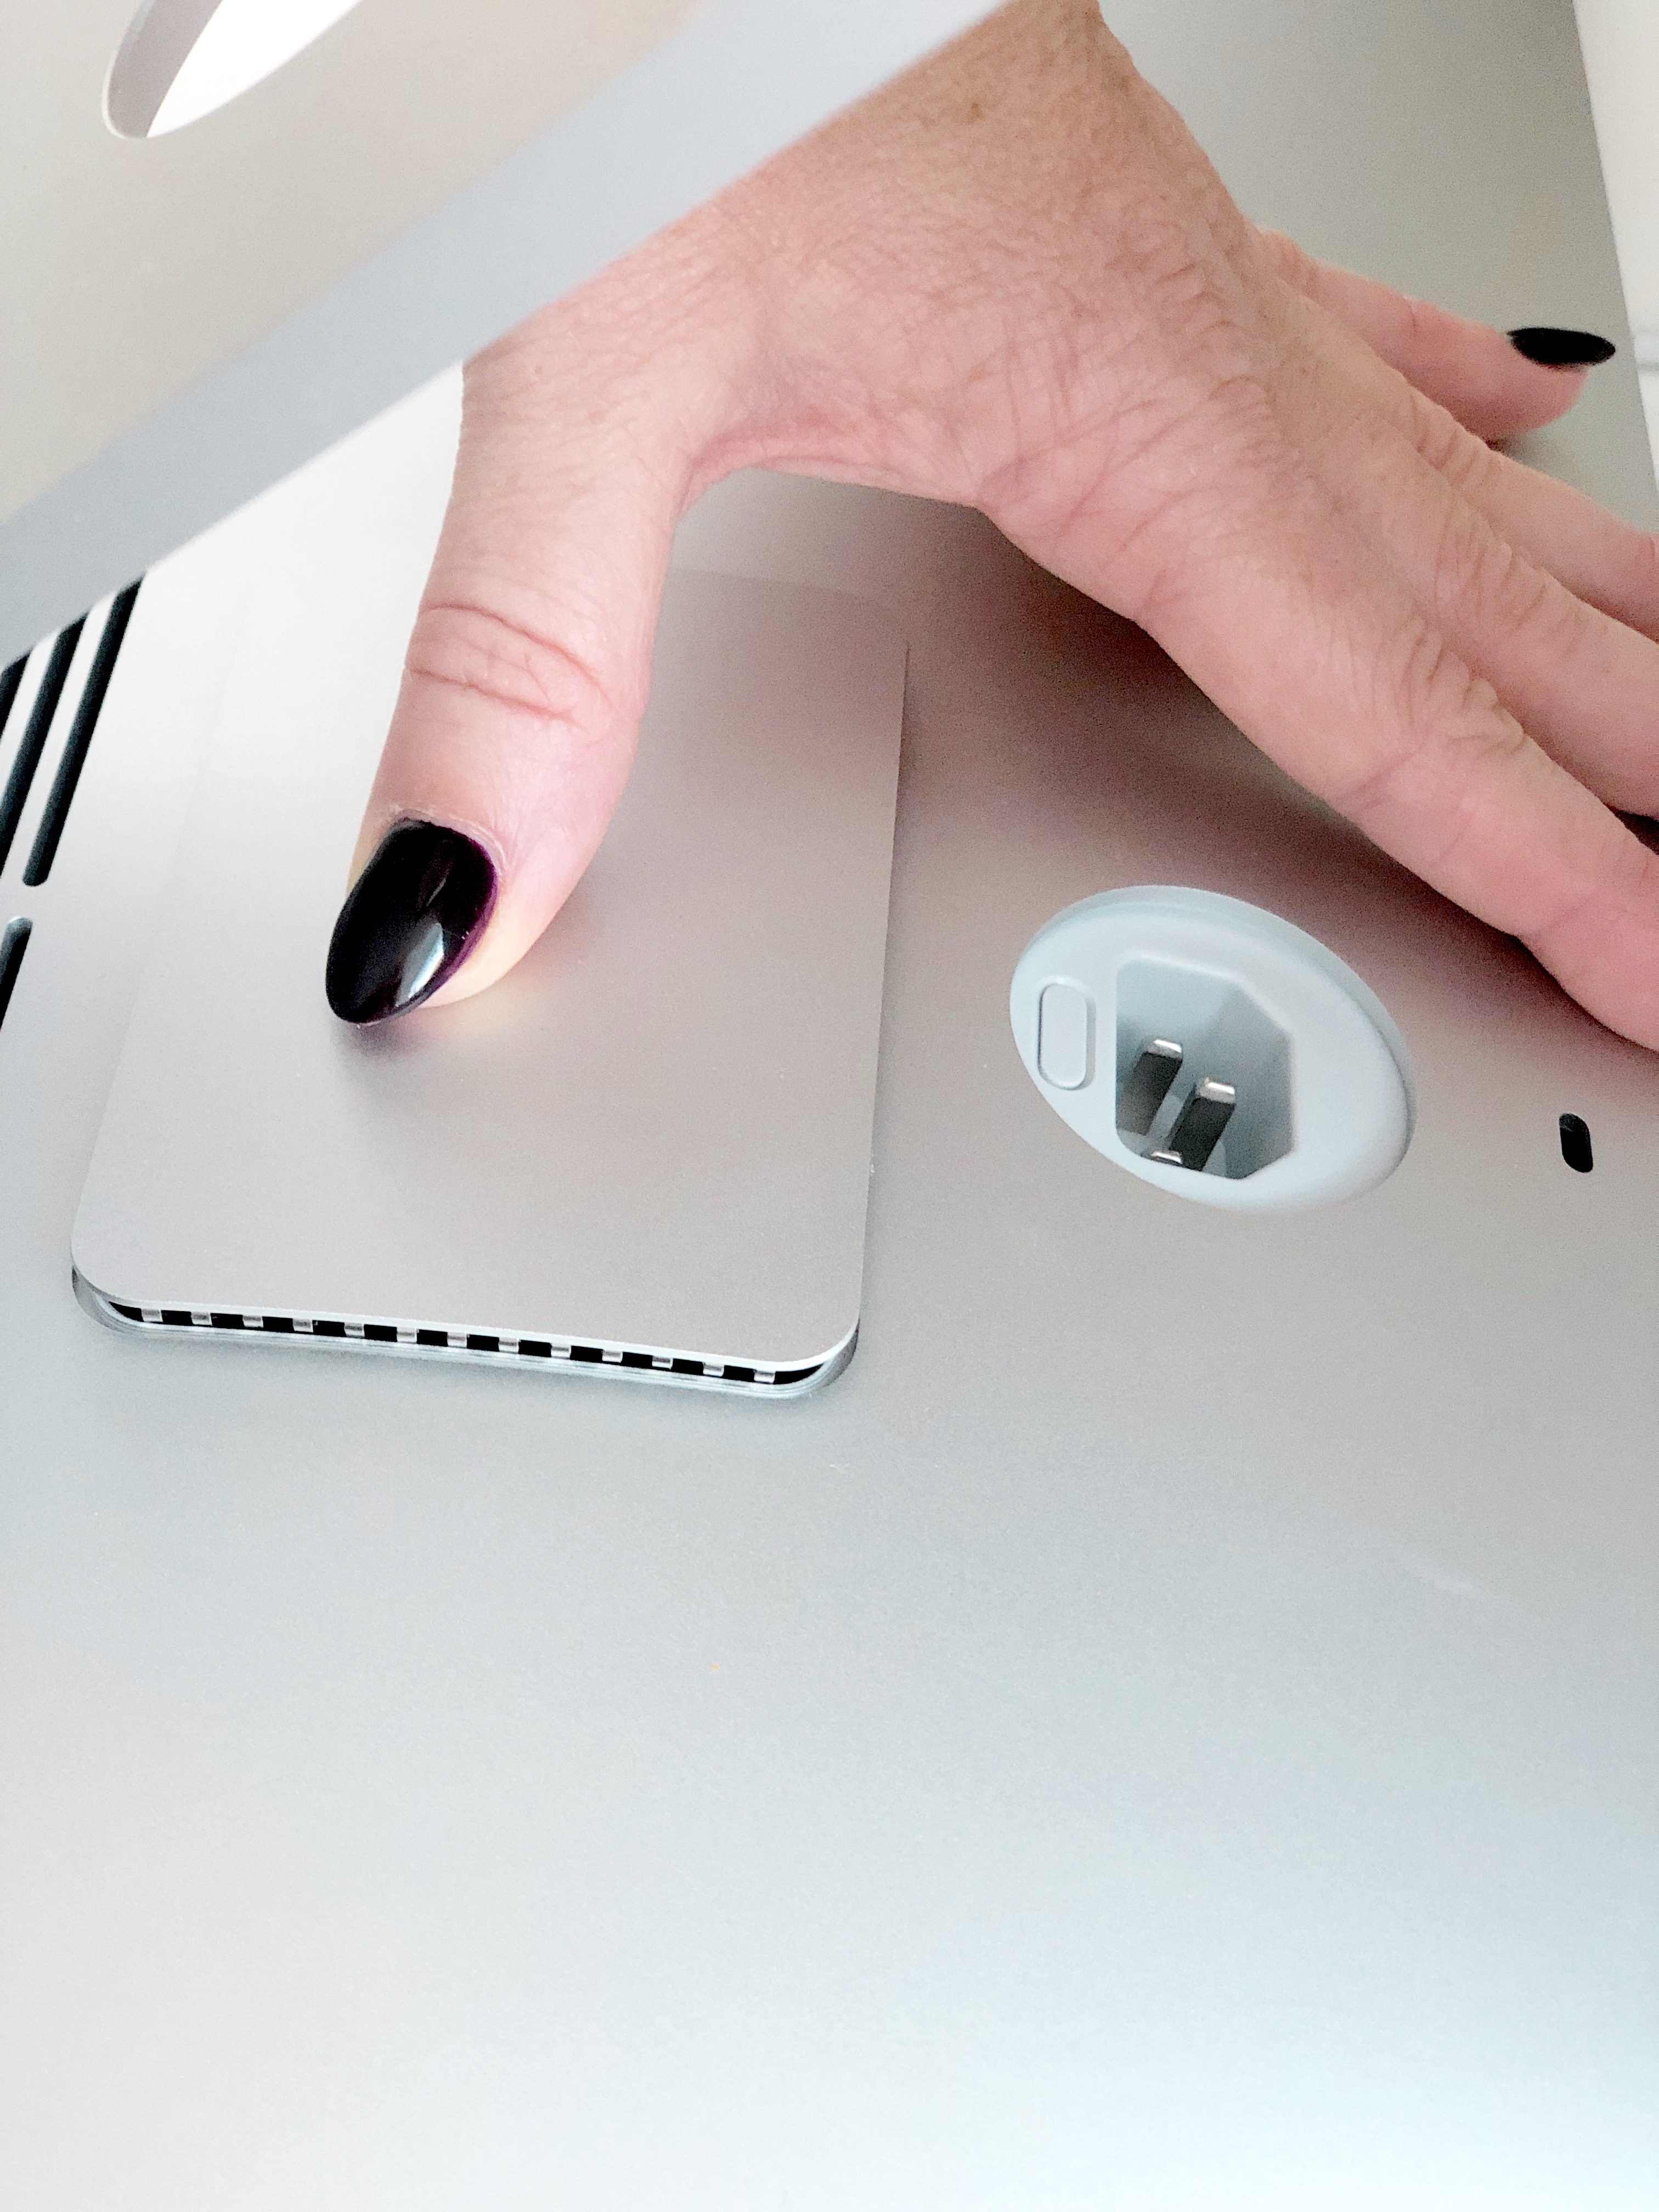
Press the button underneath the power plug area to eject the RAM slot cover. (If you have an older iMac, you will need a screwdriver to take off the cover.)
Step 3.
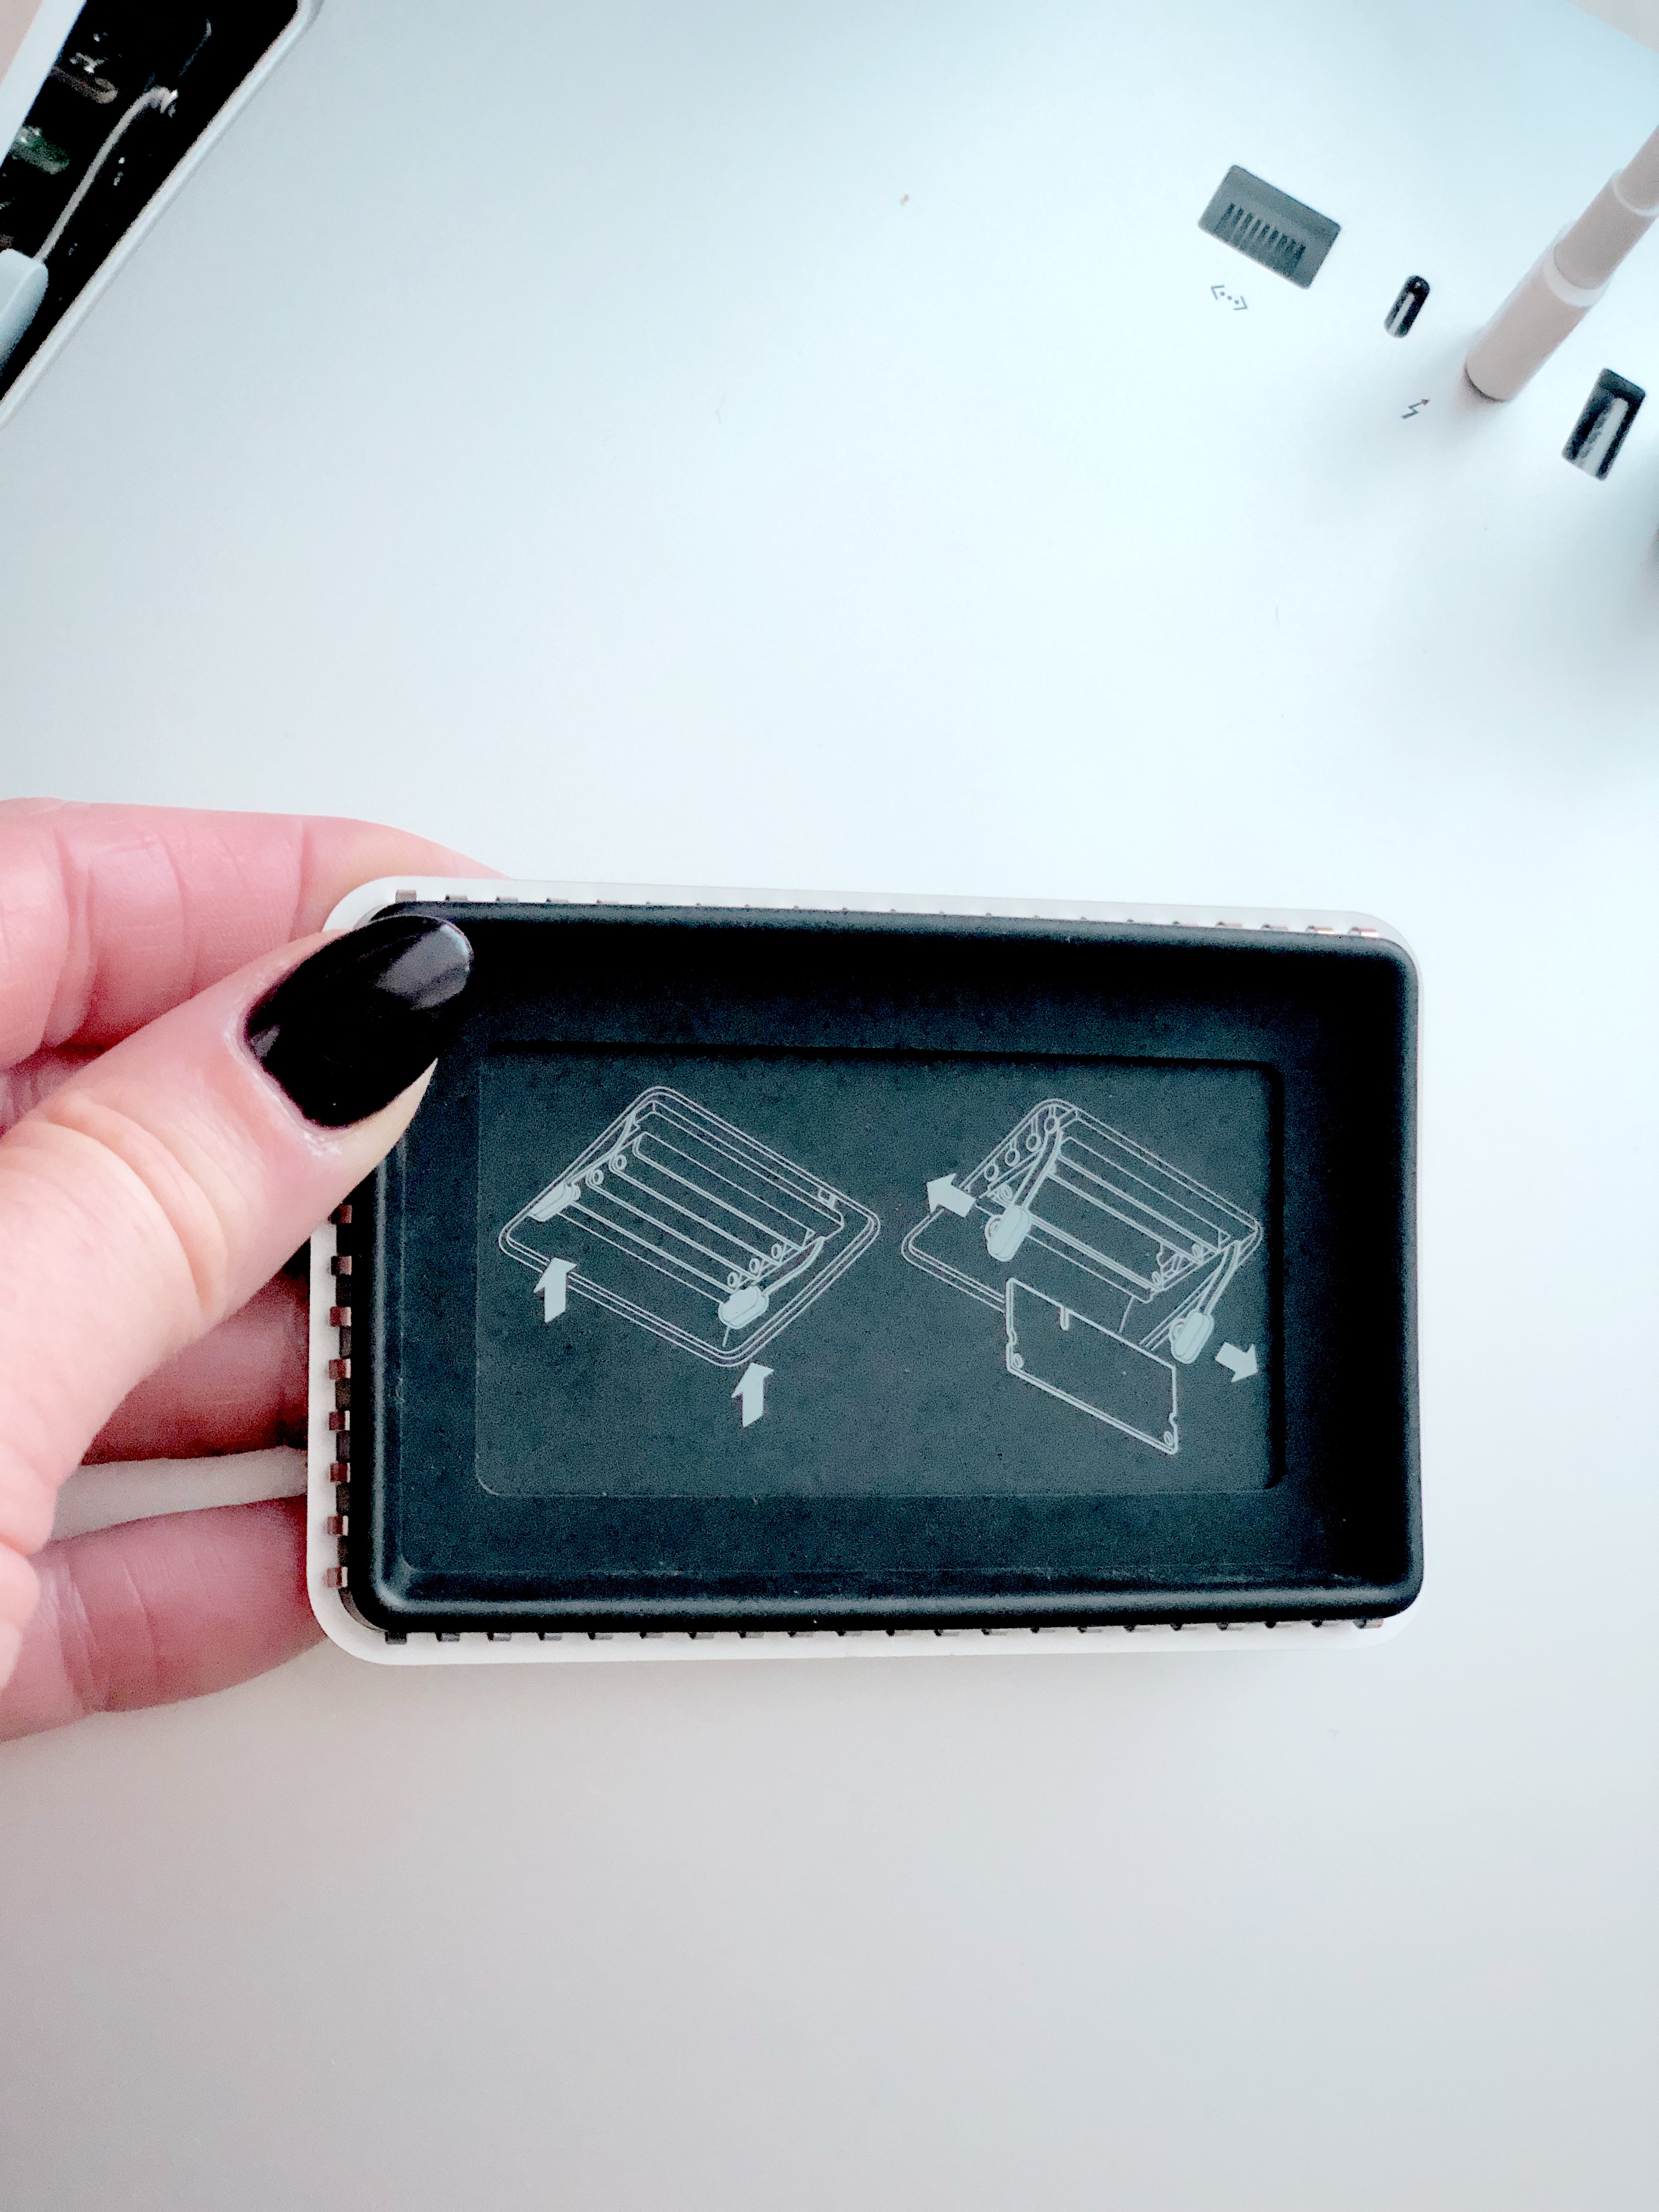
Use the levers to unlock the DIMM slots.
Step 4.
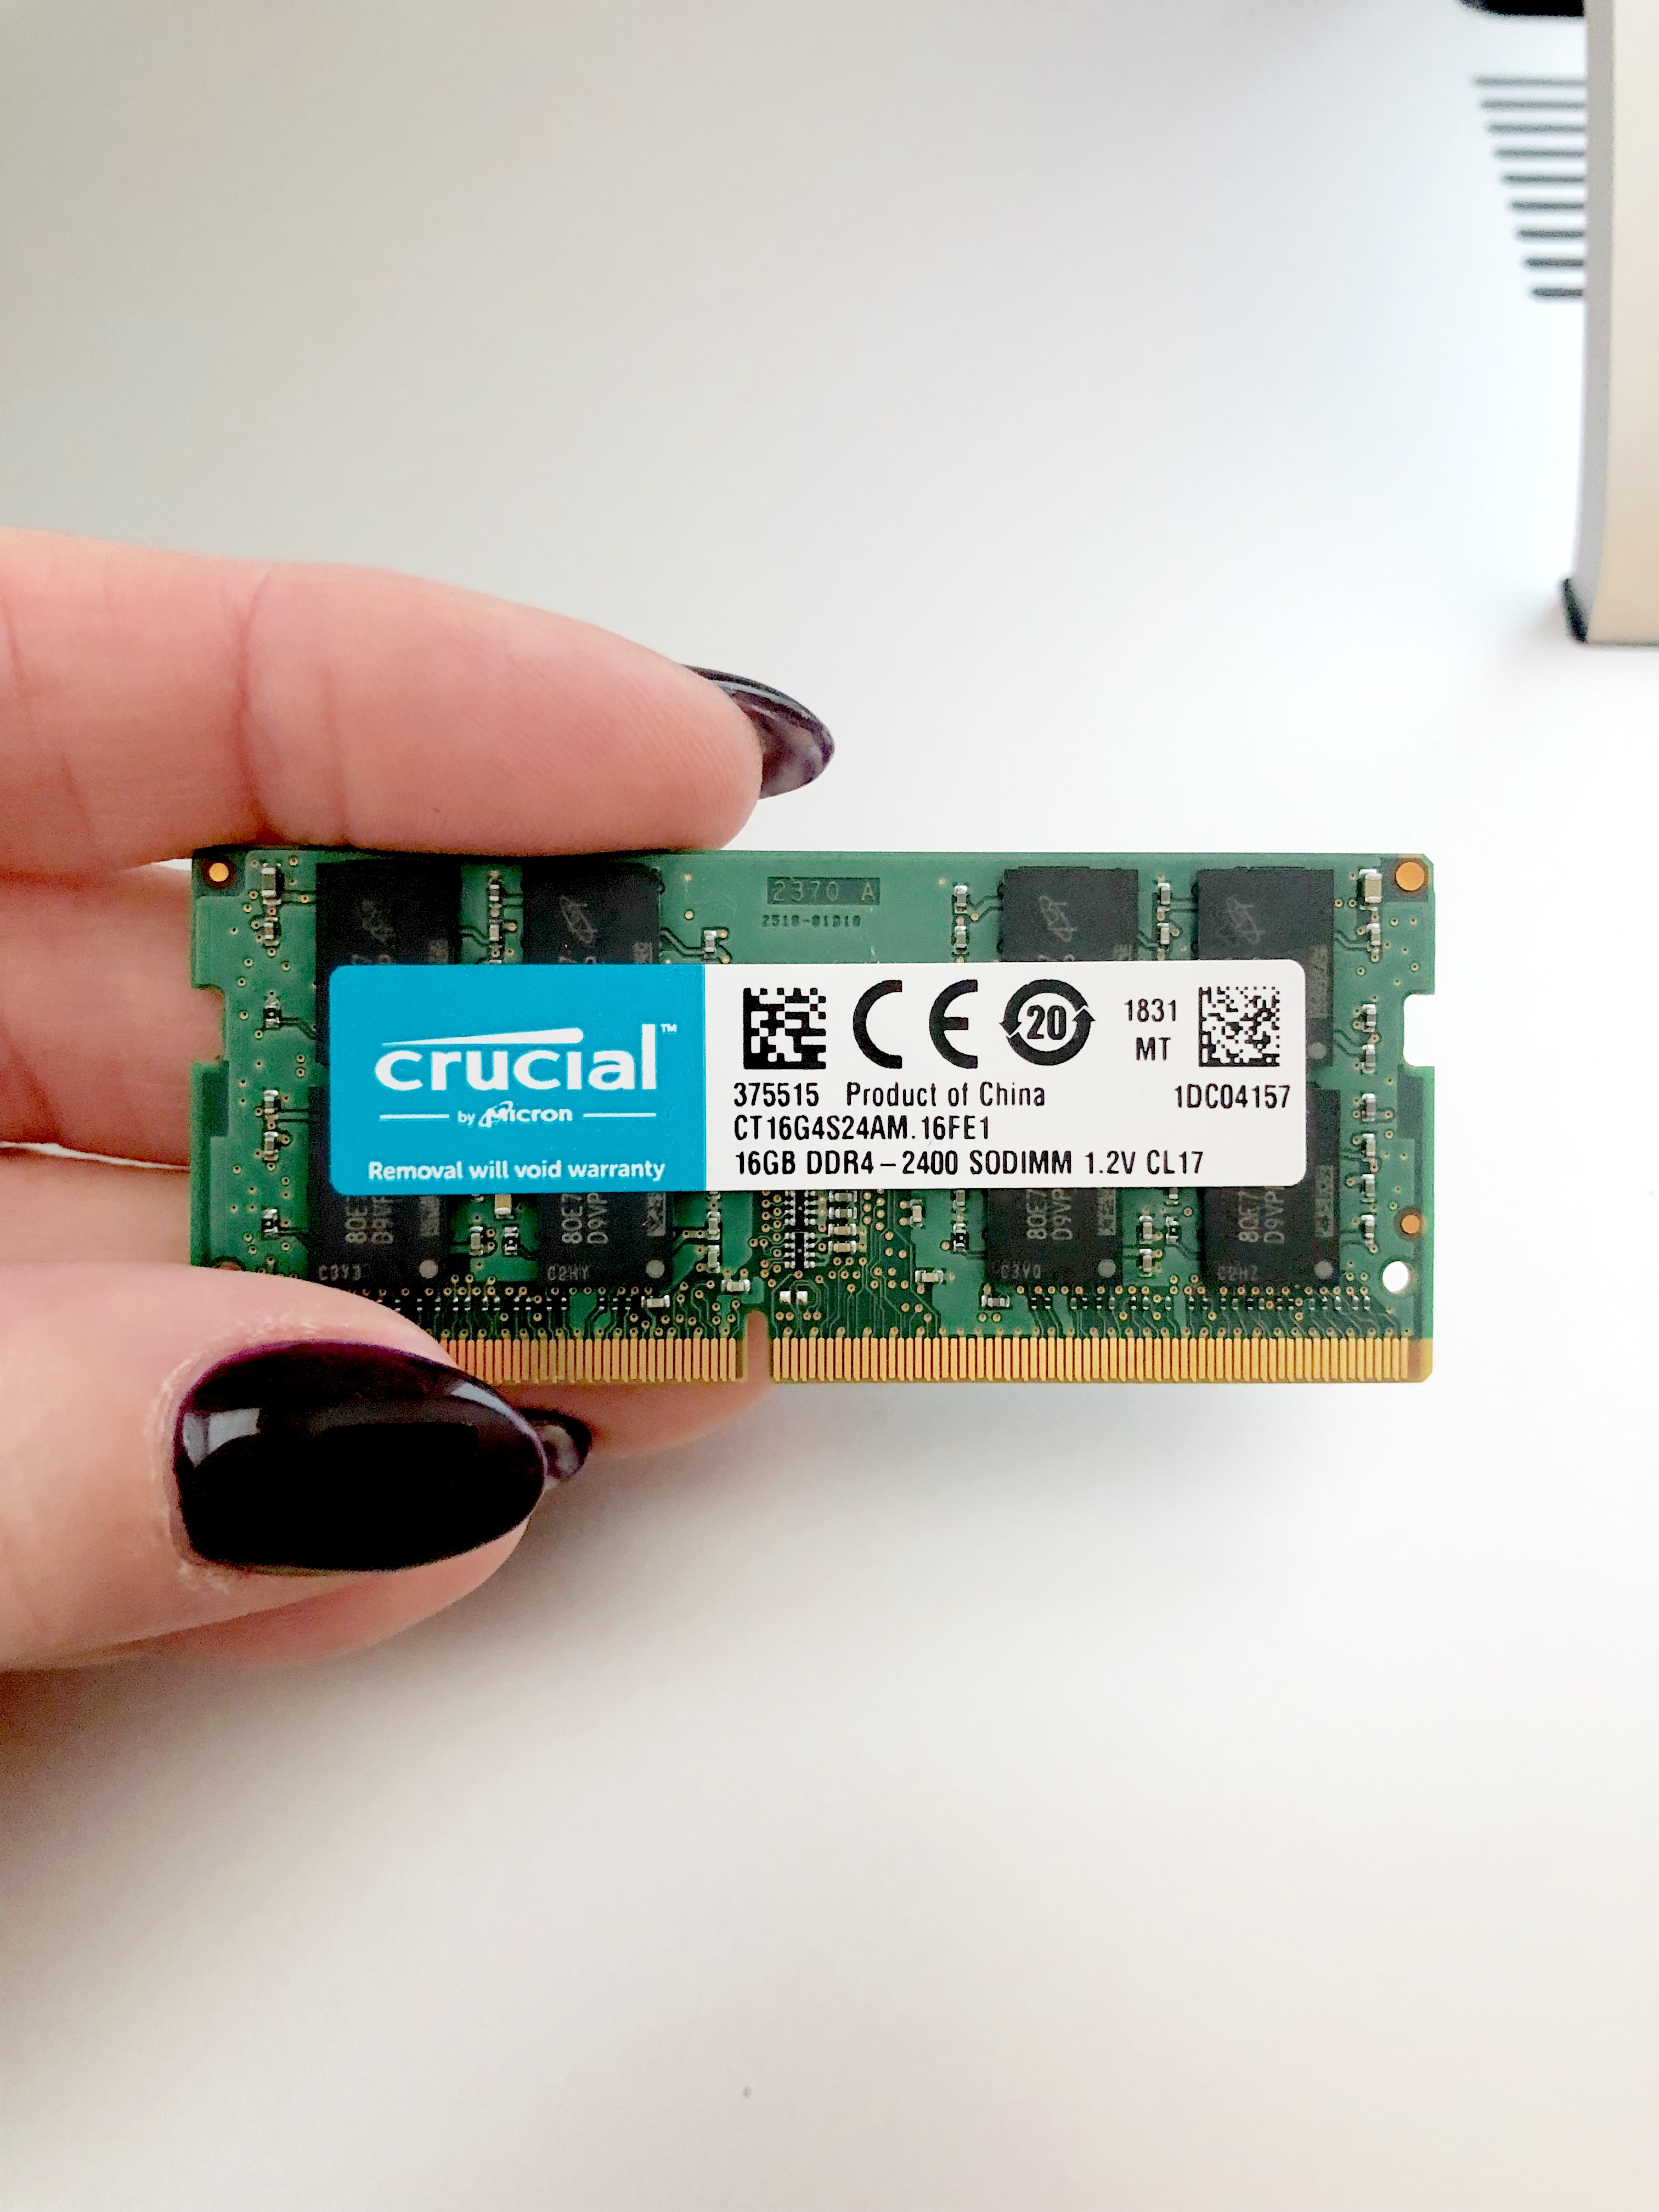
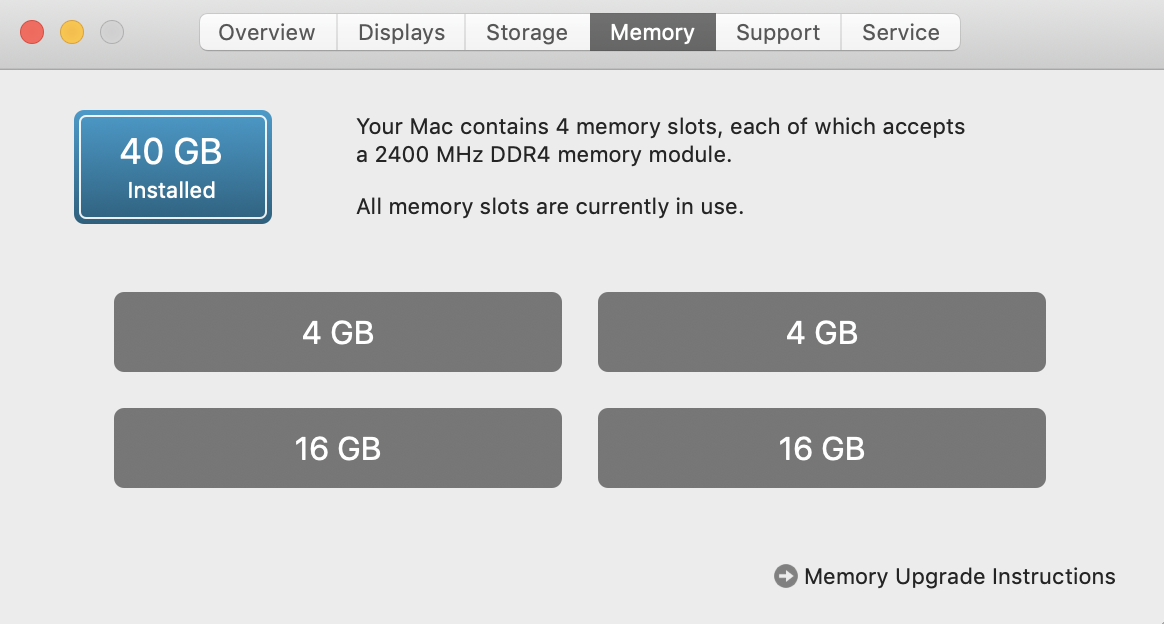
Place the ram you purchased in the extra slots. I purchased 2 16 GB that you can find HERE. I would recommend keeping the existing ram you have to add to it. The more the better. There are 4 available slots and you can have up to 64 GM total RAM
Step 5.
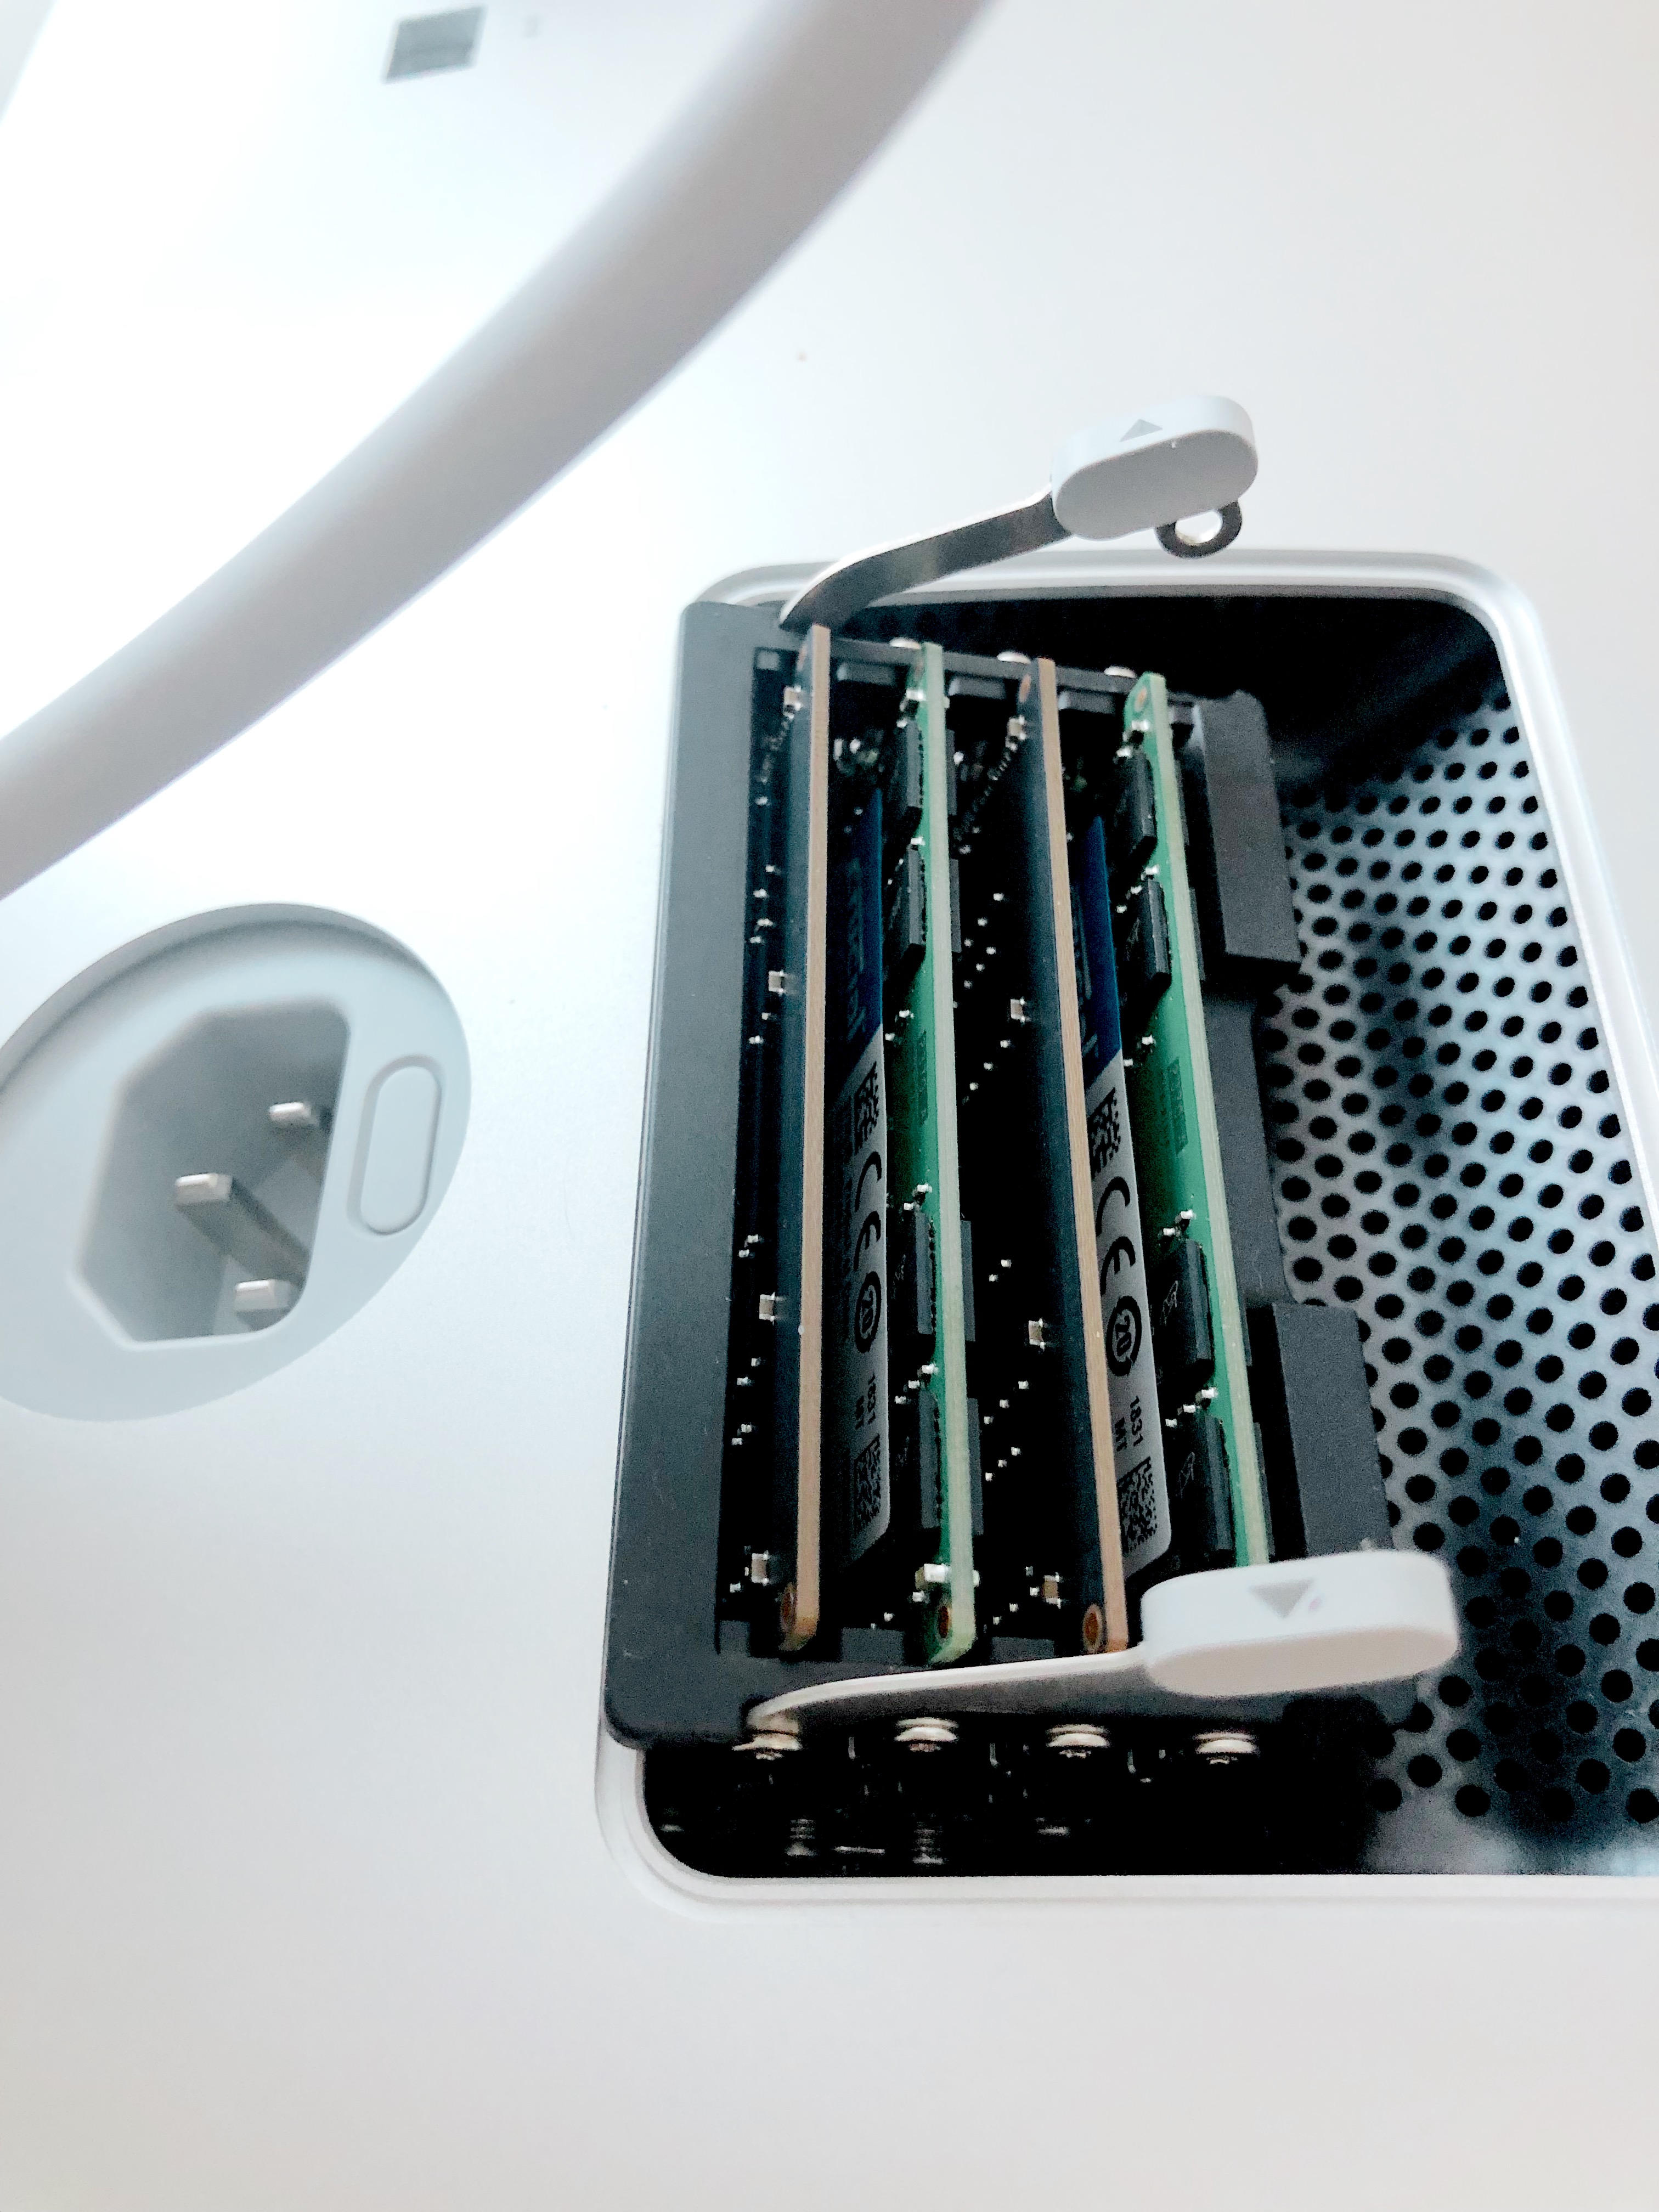
Use the levers to lock the slots then replace the RAM slot cover.
Step 6.
Connect all your cables and Once your Mac has booted, go to → About This Mac → Memory, and confirm that all RAM is accounted for.
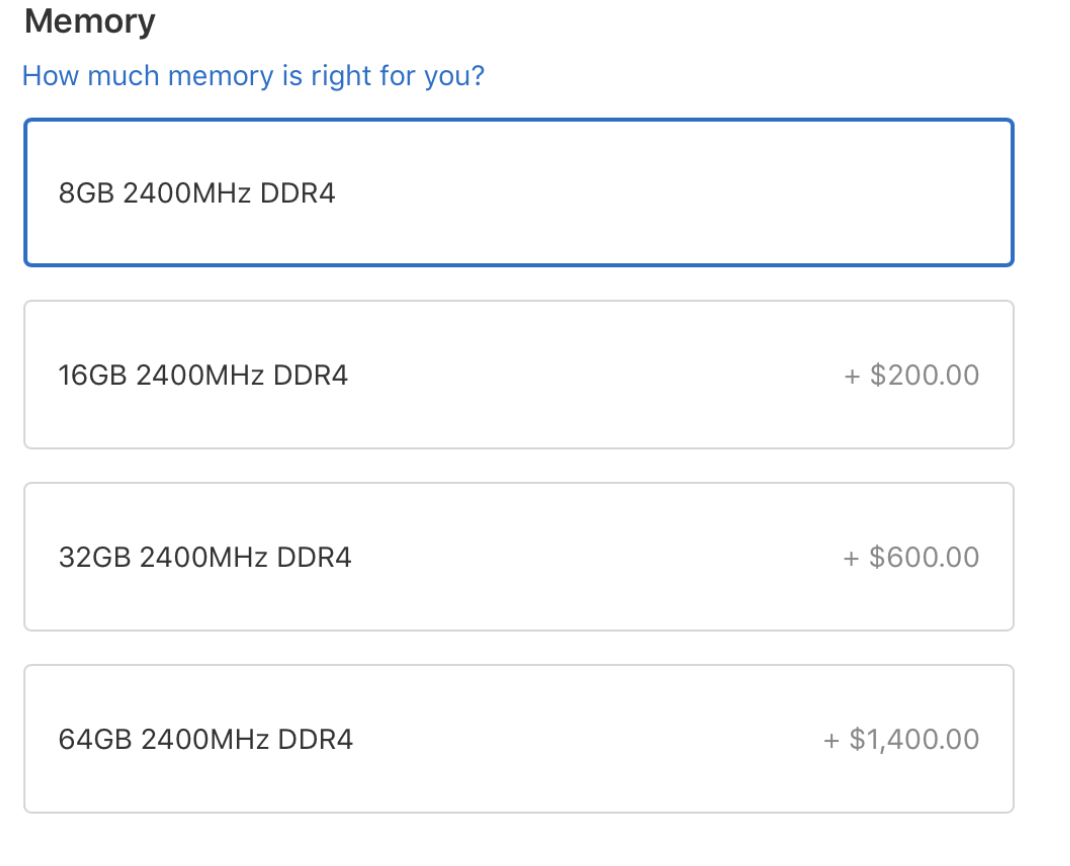
You’re done!!! Enjoy countless hours of speeding up your workflow! Note- All non-build to order Mac’s come with a standard 8 GB of ram. If you choose to purchase through Apple it will set you back about $600 for up to 32 GB. In my opinion, It’s best to spend way less money on purchasing your RAM and about 10 minutes of your time installing. Below is the chart from Apple’s website. If you would like the RAM I purchased and highly recommend along with many super tech savvy peeps CLICK HERE.
Leave a Reply
here as a fellow creative or photographer?
check out my Shop page here ⟶
or grab my freebie below!
I've taken the guess work out of figuring out which Blogs you should submit your work to. Simply drop your email here, and I'll send you my favorite 15 blogs you can submit your work for features!
Join the cmp community
Work with me and my team, and join hundreds of other couples in an exclusive CMP family - plus, join an online community just for our past couples and connect with others that have enjoyed the CMP Wedding Experience!
• I'm ready to be a cmp couple! •
planning a wedding?
Wedding planning is HARD work! I have so many tips to send your way! Join me for instant access to the CMP newsletter community and get some help planning your wedding day from someone who has been there with sweet brides like you over 70 times! Join in for my free guide "5 ways to keep your sanity while planning a wedding"